USB GPS Module on a Raspberry Pi 3
With my recent adventures with Pwnagotchi I purchased a couple of USB GPS dongles from Amazon. My Pwnagotchi got borked, I still haven’t fixed it, but I really wanted to try out these GPS modules. I have a Raspberry Pi 3 that has done absolutely nothing for the past couple of years, I am planning on making a Meshtastic node with it, so why not go ahead and get a GPS module up and running? Let’s dive in.
Flash The Raspberry Pi
I use the Raspberry Pi Imager because its a little superior to Balena Etcher or others, I’m able to easily set the WiFi credentials, login, password, etc while flashing the image. Then I can plug it in, SSH, and I’m ready to rock.
I’m using Raspberry Pi OS Lite (64-bit) for this example.
Once flashing the 16 GB SD card, I inserted it into the Pi, booted it up, and waited for the initial boot.
Test the GPS Dongle
Plug in the GPS dongle and it should automatically configure. Verify this with the below command.
1
ls /dev/tty*
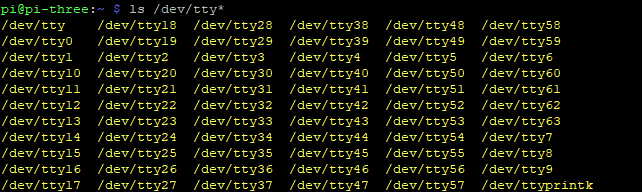 The before output.
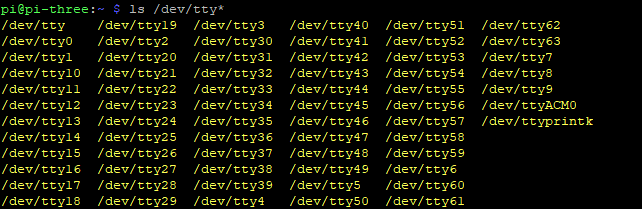 The after output, notice the new
 /dev/ttyACM0 device.
To verify the GPS has actually been bound to this folder use the following command.
1
sudo cat /dev/ttyACM0
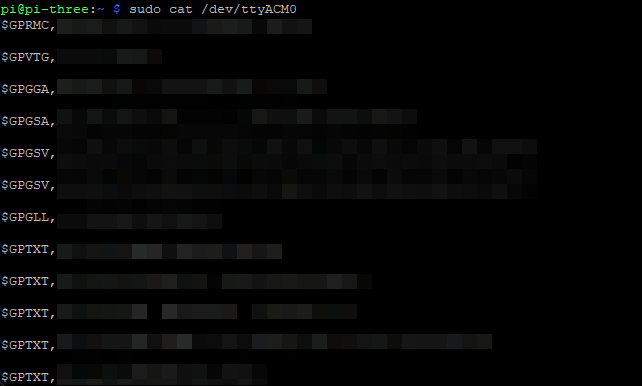 Output similar to this means you have a successful GPS lock.
Install gpsd
Next we need to install gpsd which I’ll let them describe.
gpsdis a service daemon that monitors one or more GPSes or AIS receivers attached to a host computer through serial or USB ports, making all data on the location/course/velocity of the sensors available to be queried on TCP port 2947 of the host computer.With
gpsd, multiple location-aware client applications can share access to supported sensors without contention or loss of data. Also,gpsdresponds to queries with a format that is substantially easier to parse than the NMEA 0183 emitted by most GPSes. Thegpsddistribution includes a linkable C service library, a C++ wrapper class, and a Python module that developers ofgpsd-aware applications can use to encapsulate all communication withgpsd. Third-party client bindings for Java and Perl also exist.
From my understanding, gpsd manages USB GPS device so applications don’t have to. If you set up gpsd properly with GPS modules, most GPS location aware applications can get the GPS data by calling gpsd.
To install use the below command.
1
sudo apt install gpsd
We need to make gpsd automatically start on boot, to do this we’ll update the /etc/default/gpsd file.
1
sudo nano /etc/default/gpsd
Make sure to include the GPSD_OPTIONS="/dev/ttyACM0 line.
1
2
3
4
5
6
7
8
9
# Devices gpsd should collect to at boot time.
# They need to be read/writeable, either by user gpsd or the group dialout.
DEVICES=""

# Other options you want to pass to gpsd
GPSD_OPTIONS="/dev/ttyACM0"

# Automatically hot add/remove USB GPS devices via gpsdctl
USBAUTO="true"
Restart the Raspberry Pi for settings to take affect.
1
sudo reboot now
Test gpsd with xgps
The GPS signal should now be available to applications. However, we should confirm this to make sure. It can be utilized by a toll called xgps which is include in the gpsd-clients package.
1
sudo apt install gpsd-clients
Once installed use the following command to test your configuration. Note: This is only available if you have a display, this is not functional for my purposes outlined above.
1
xgps
Conclusion
That’s about it, at least as far as I have got. I’m excited to see if Meshtastic can use this GPS dongle, I don’t know what purpose I really have for Meshtastic on a Raspberry Pi 3, but “why not”?
I hope you enjoyed this super quick tutorial.